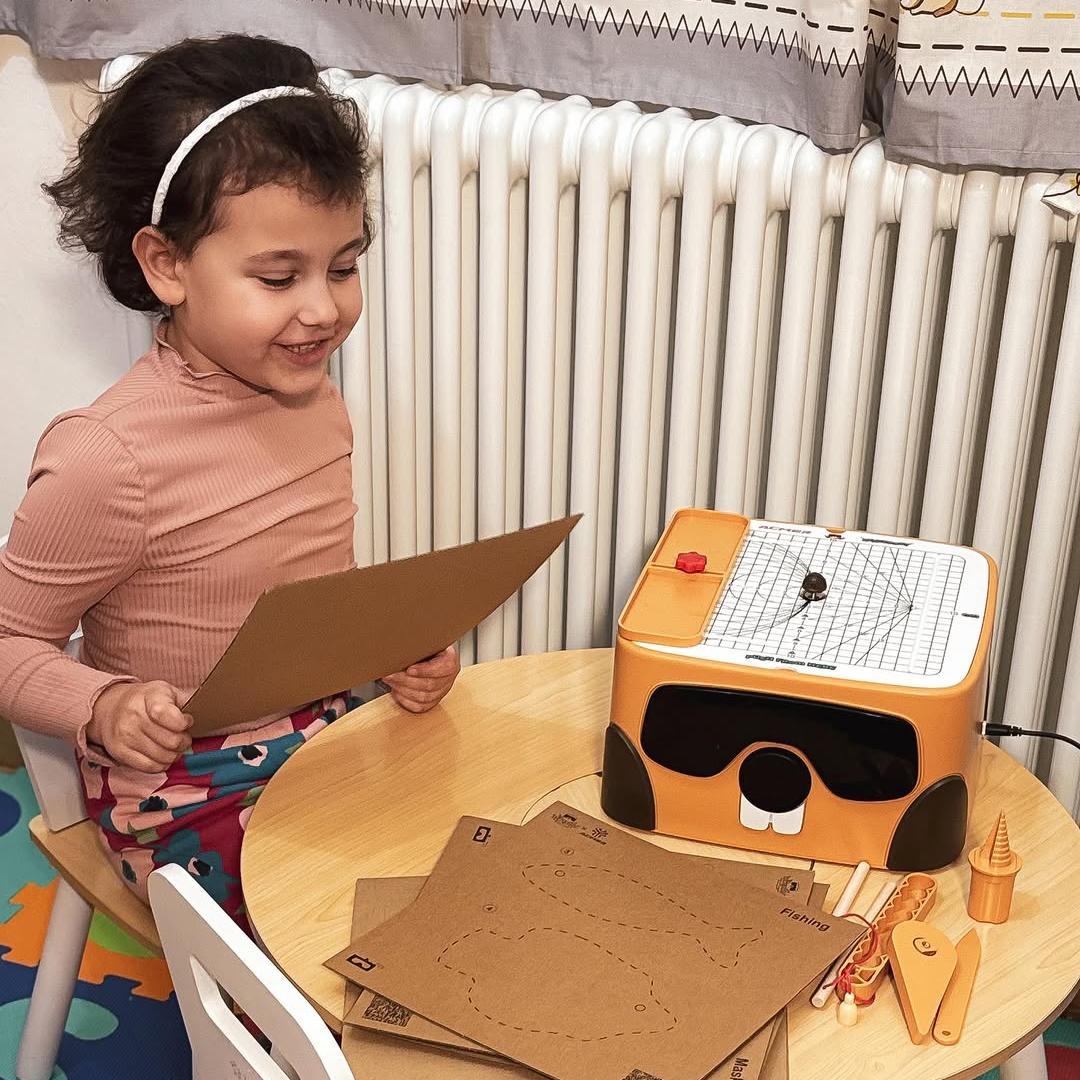
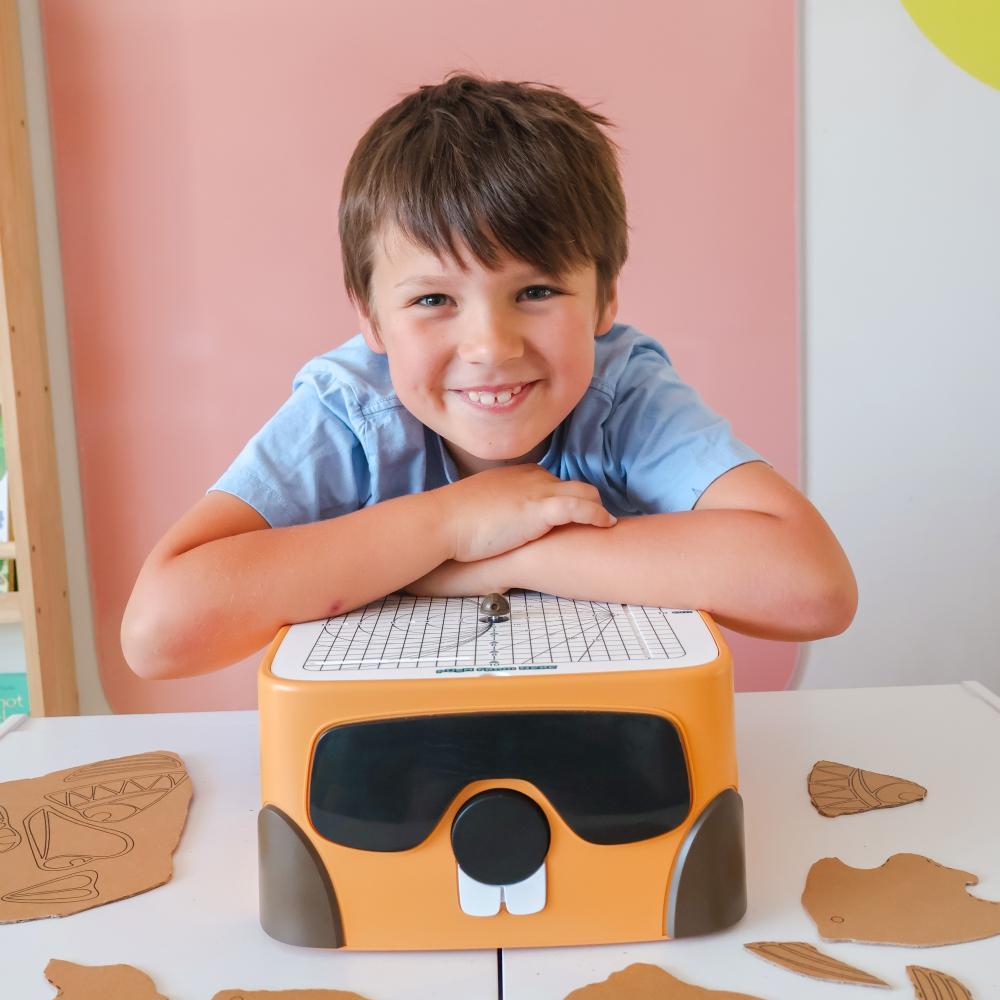
What's included in the kit?
More than a mask. It’s a transformation.


Step-by-step tutorial


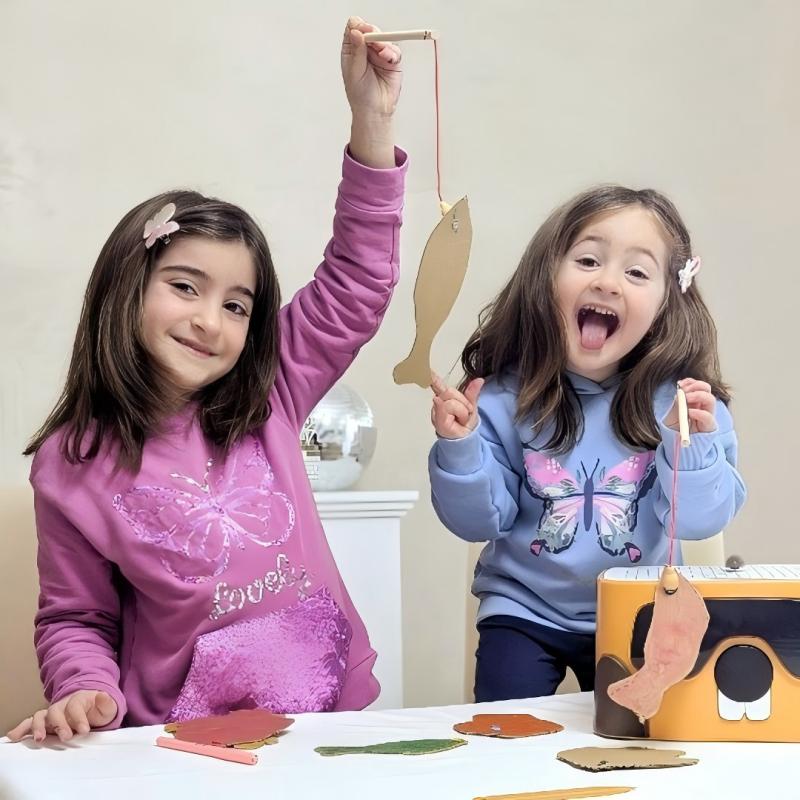
Show Us Your Wings!