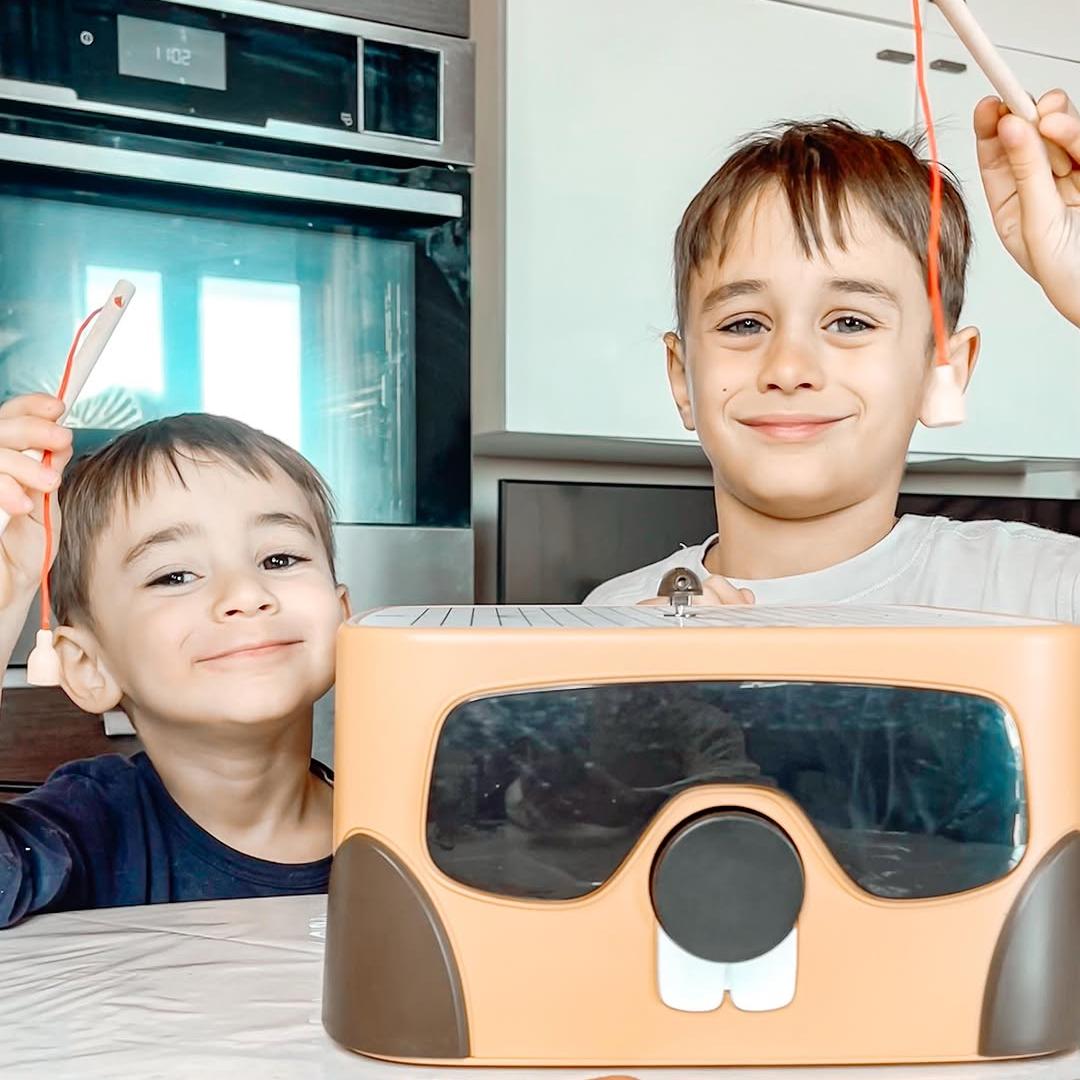
What's included in the kit?
More Than a Box. It’s a Codebreaking Adventure.


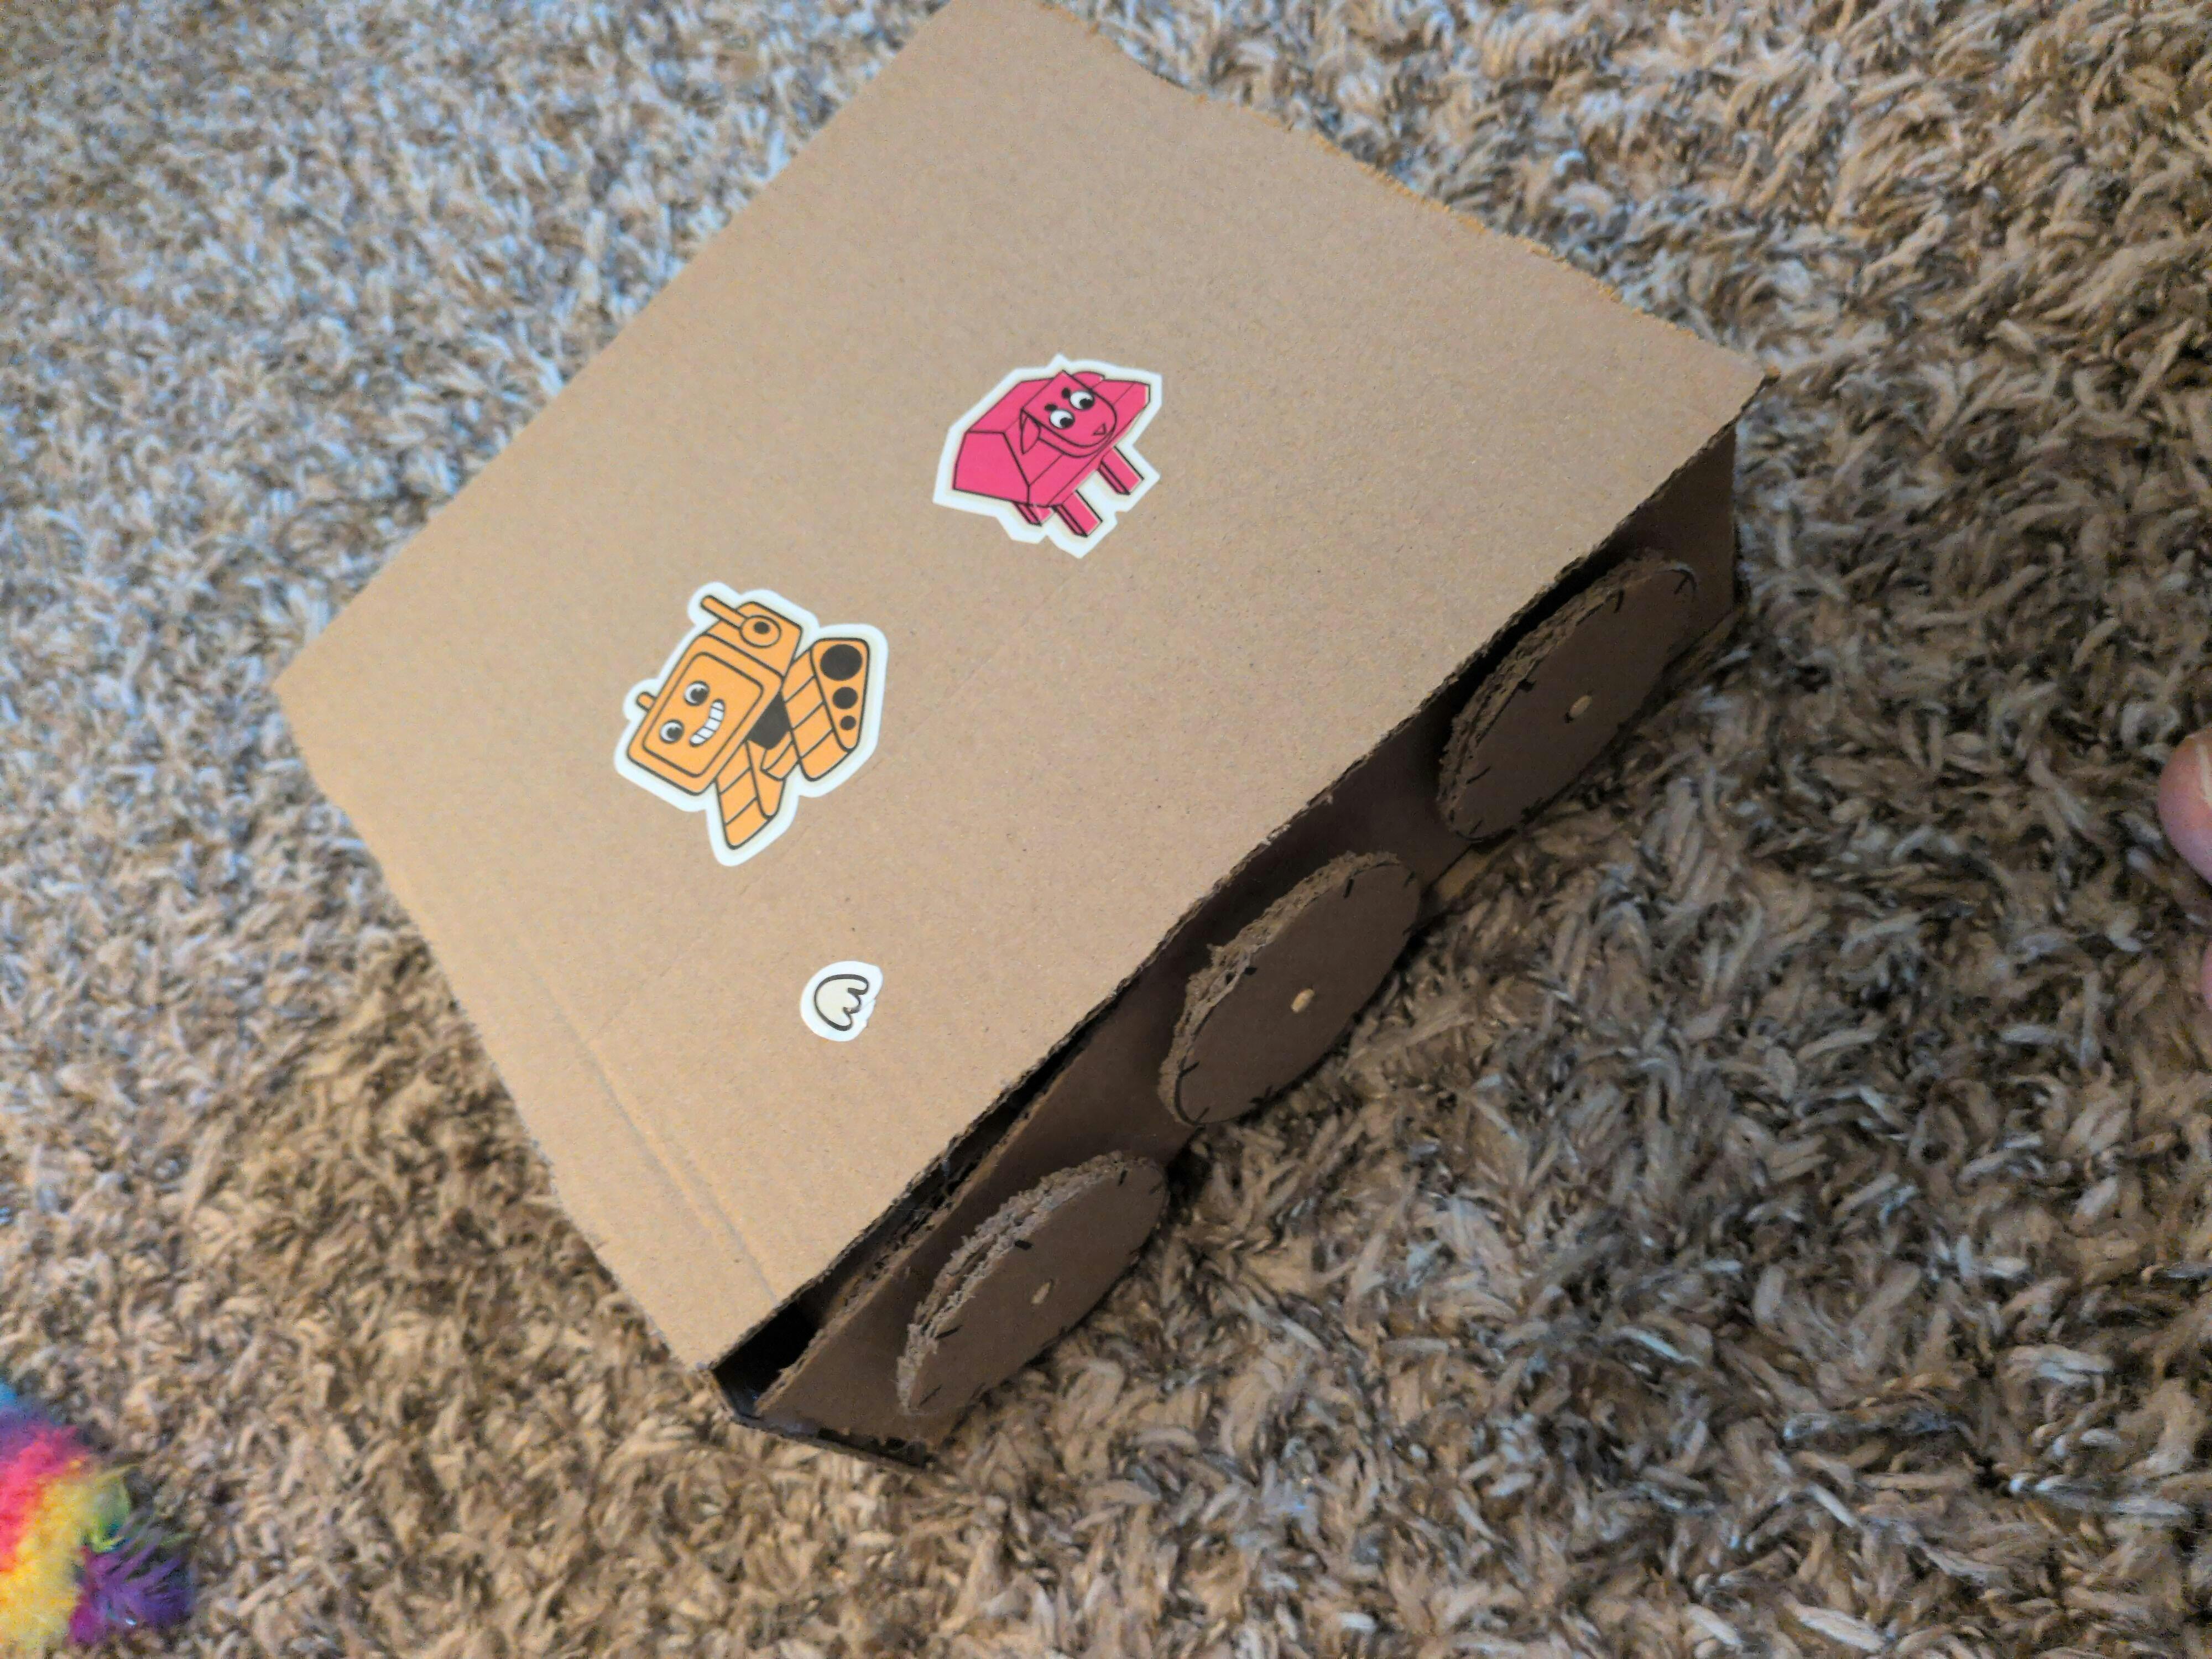
Step-by-step tutorial


Show Us Your Cipher Box!


Customer Reviews
Based on 1 review
0%
(0)
100%
(1)
0%
(0)
0%
(0)
0%
(0)
A
Directions were not entirely clear but we ended up figuring it out after some experimentation. Very fun!
Hi Amanda, thank you so much for your feedback on our Cipher Kit! We're thrilled to hear that you had fun with the project and were able to figure it out after some experimentation.
We truly appreciate your comment about the directions not being entirely clear. To help us improve, could you please share which parts of the instructions you found confusing? Or, do you have any suggestions for improving our tutorial videos or the step-by-step instructions on the product page? We’re always looking for ways to enhance the user experience and make things as easy as possible for our customers.
Thanks again for your valuable input, and we look forward to hearing from you!